Step 1:
Preheat oven to 250 degrees
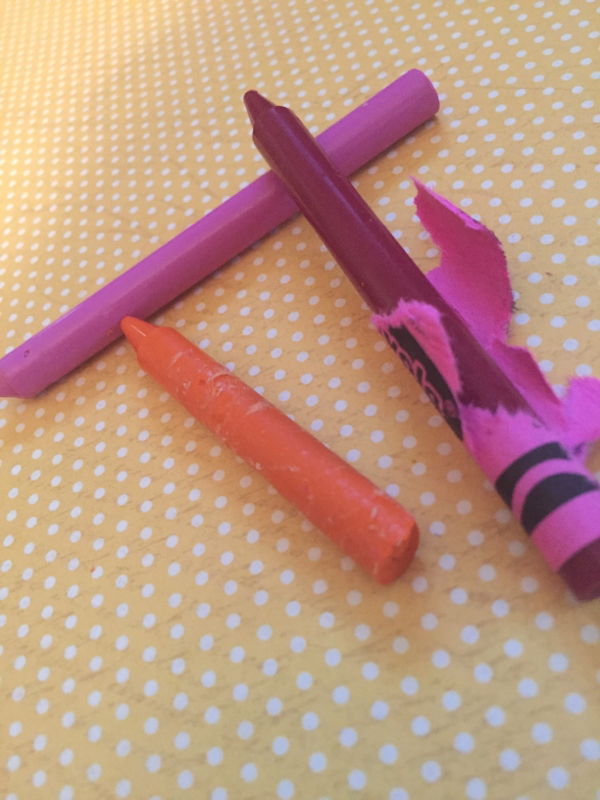
Step 2:
Gather crayons and peel of the paper wrapping. New crayons or old, broken crayons will work great!
Preheat oven to 250 degrees
Step 2:
Gather crayons and peel of the paper wrapping. New crayons or old, broken crayons will work great!
For this simple diy all you need is:
-crayons (old, new, or broken)
-non stick mini-muffin tin
-oven
-crayons (old, new, or broken)
-non stick mini-muffin tin
-oven
Step 3:
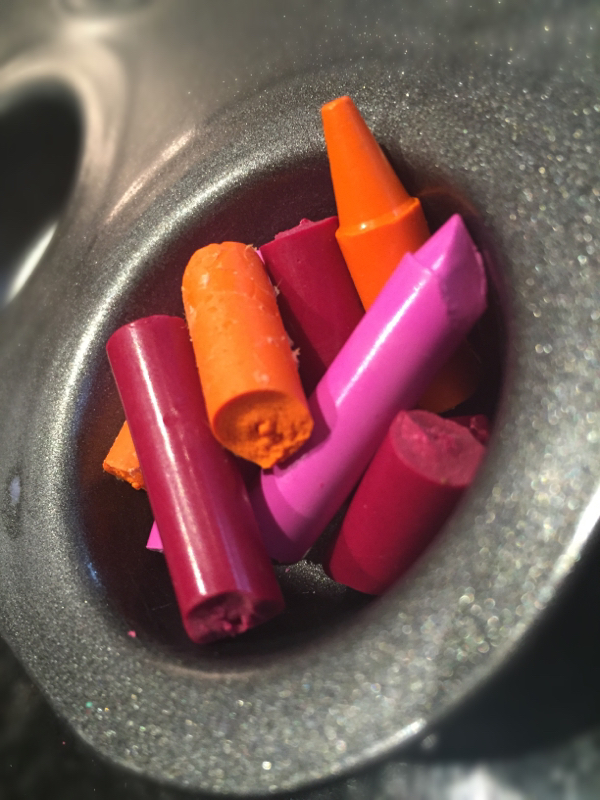
Break the crayons into approximately 1inch pieces and place 3-5 crayons of any colors into each mini muffin cup.
Step 4:
Place the filled mini-muffin tin in the oven and bake for 10-14 minutes or until all crayons are completely melted in the center
Step 5:
Remove mini-muffin tin and let cool on counter for 15-20 minutes, then place mini-muffin tin in the fridge or freezer for 10-30 minutes or until crayon chunks are cool to the touch.
Step 6:
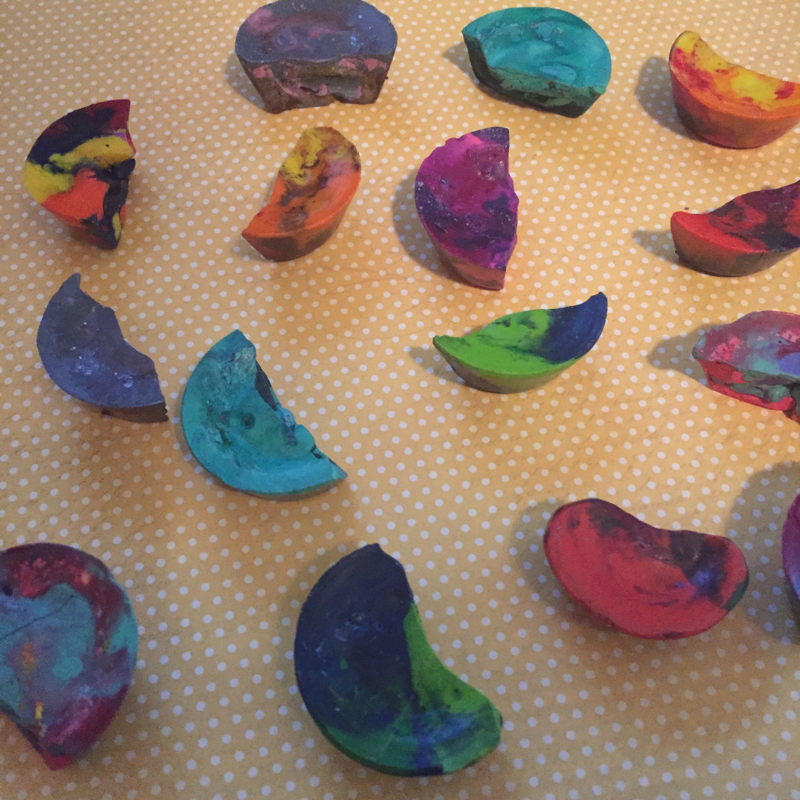
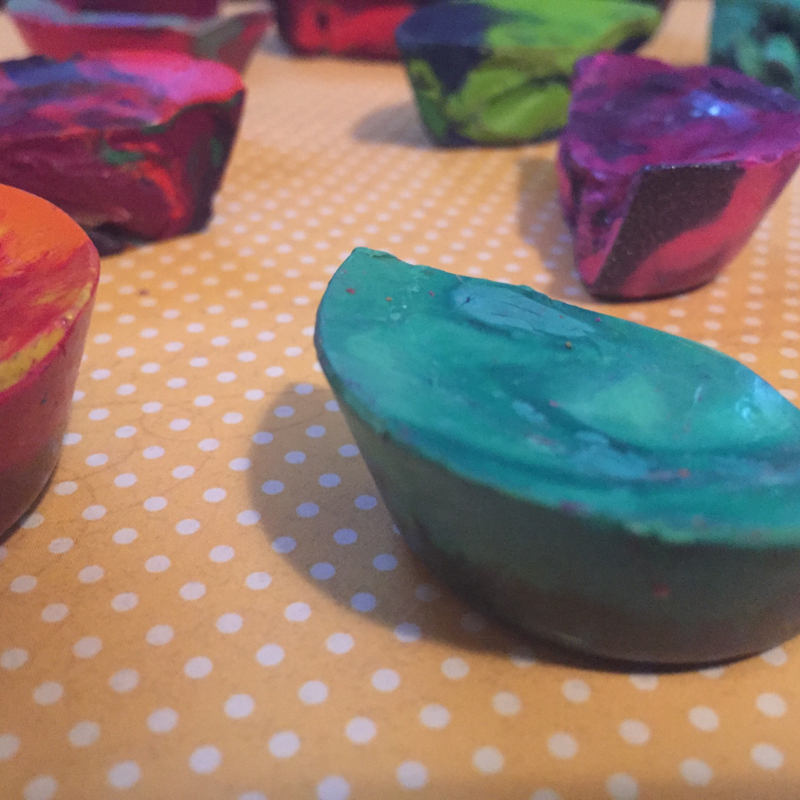
Pop 'em out! If needed turn the mini-muffin tin upside down and tap on the back to help them plop out. (optional: break the chunks in half for easier handling)
Step 7:
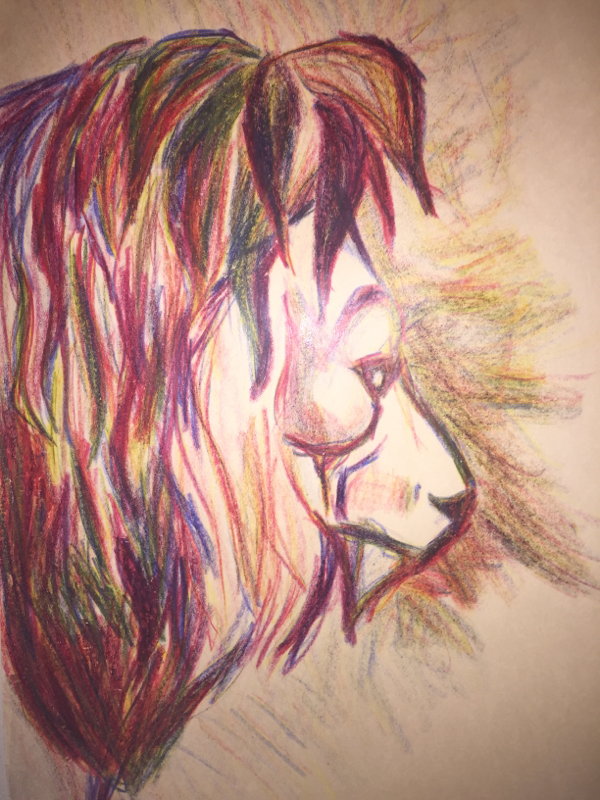
DRAW! Post your crayon chunk creations on Instagram and Facebook and use the hastag #daintydiy for a feature on this blog!
Break the crayons into approximately 1inch pieces and place 3-5 crayons of any colors into each mini muffin cup.
Step 4:
Place the filled mini-muffin tin in the oven and bake for 10-14 minutes or until all crayons are completely melted in the center
Step 5:
Remove mini-muffin tin and let cool on counter for 15-20 minutes, then place mini-muffin tin in the fridge or freezer for 10-30 minutes or until crayon chunks are cool to the touch.
Step 6:
Pop 'em out! If needed turn the mini-muffin tin upside down and tap on the back to help them plop out. (optional: break the chunks in half for easier handling)
Step 7:
DRAW! Post your crayon chunk creations on Instagram and Facebook and use the hastag #daintydiy for a feature on this blog!